- Login to your account on the remote server.
- Create a file ~/.ssh/authorized_keys file and placed in the putty public key with the following format:
ssh-rsa <PUBLIC_KEY> <KEY_COMMENT>
Note: If you don’t have a public key generated you can follow the procedure from Generating Putty SSH Key Pair.
If the file already exists then append the public key on a new line with the same format specified earlier.
- If necessary update the permission of the authorized_keys file with the following command:
chmod 600 ~/.ssh/authorized_keys
- If necessary update the permission of the .ssh directory with the following command:
chmod 700 ~/.ssh
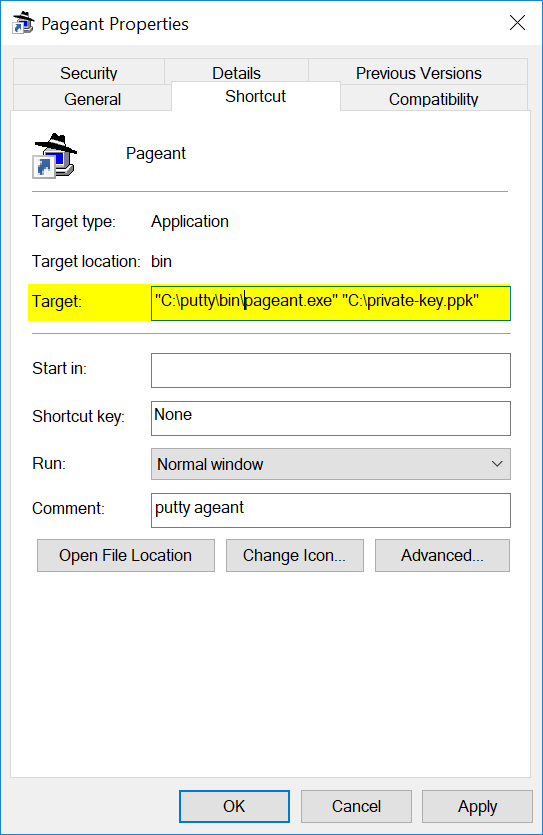
- Setup the Pageant (see Using Pageant to hold the Putty Private Key) to hold the private key (and passphrase).
- Run the Putty application.
- Fill-up Host Name (or IP Address) field with the following format:
<USERNAME>@<HOST_NAME_OR_IP_ADDRESS>
Where fields are defined as follows:
<USERNAME> is the account name used on step 1.
<HOST_NAME_OR_IP_ADDRESS> is the remote server used on step 1.
Example
user@someserver.com
user@192.168.1.200
- Click the Open button and expect to be connected to the remote server without it asking you to provide your password (or even your passphrase).

Recent Comments